Mobility – Strength – Skill
To maximize your potential, capacity and efficiency for Handstand Push-Ups you must master it’s specific mobility, strength and skill demands: the three-headed monster every athlete must conquer. Let’s take on the monster one “head” at a time.
Mobility Requirements
The Handstand Push-up is a pressing and midline movement. Since your head contacting the ground limits the range of motion (unless it is a deficit) the mobility demands at the bottom of the rep aren’t significant. Therefore, there is only one key position requiring mobility:
1) ‘Stacked’ Overhead Position: ‘Stacked’ is defined as the bone structure supporting the load via the joints being placed directly over one another. Think “when the arms bend the power ends.” If you can’t effortlessly lockout your arms in line with your ears, then you are having to work against yourself in the lockout of the Handstand Push-up. This is inefficient and exposes you to injuries. If you cannot open up the shoulder fully you will never be able to hit an ‘effortless’ Handstand Push-up.
Here are a few of my favorite mobilizations to work on your overhead position:
• Kettlebell-Anchored T-Spine Stretch
• Banded Tricep Overhead Stretch
• Elevated Cat Pose
• Chest Stretch
Strength Requirements
In order to solidly hit the positions needed and be safe the following strength baselines are suggested:
1) Pushing: Strict Press with 75% of Body Weight.
In the handstand push-up, you are pushing your full body weight up. In most workout scenarios, you are allowed to kip or use your legs to create momentum, much like a push press with a barbell. The ability to press your body weight overhead is necessary for the handstand push-up and the easiest way to test that in an upright environment is with the strict press. Yes, there are people who can do handstand push-ups without the prerequisite but the chances of you injuring yourself, especially your neck/cervical spine, increases dramatically.
2) Overhead Stability & Stamina: 2-minute Static Hold against a Wall. [view video]
This is largely a test of midline stability, as well as pressing and shoulder stamina. This will be very challenging without a stacked position or without a strong lockout.
Skill Requirements
Once you have all the Mobility and Strength requirements, the time you spend learning Handstand Push-ups will be much more effective. Even with the prerequisite mobility and strength, it takes time to get comfortable being inverted.
It’s a lot like learning to hold your breath. It never feels completely normal, but as you practice the skill more and more you are able to stay calm, find your center and persevere.
As you practice your Handstand Push-ups, here is what you should focus on…
Technique Focal Points
(1) Equipment Setup
Before you even attempt a Handstand Push-up, how you set-up your physical space determines how successful you will be. You will need a mat to protect your head. There are two different types of mats that are common.
1) A Gymnastics Mat
Most padded mats that gyms have available are large enough where your head and hands will rest on the mat, unlike the ab mat. The advantage here is that you do not need to level off the mat with plates and there is no worry of where to place your hands on the plates.
The potential disadvantage here is with the thickness of the mat. If the mat is too thin (like a yoga mat for example) it won’t provide the cushion you need.
If the mat is too thick, your palms (where much of your bodyweight is) will sink in when you press up, creating an unstable environment.
Overall, I prefer this method if you can find the appropriate mat thickness and firmness because its simple and therefore is less likely to throw off your form.
Simply slide the mat up against the wall and you’re good to go.
2) An Ab Mat & Bumper Plates
Many gyms use ab mat instead of gymnastics mats because they already have them for sit-ups and they don’t have to make another purchase. And truthfully, ab mats are the perfect size and thickness for Handstand Push-ups.
The issue is in the bottom of the Handstand Push-Up your head is on the ab mat and your hands are on the ground…that’s two different levels. That’s a no-go for CrossFit’s movement standard. The two surfaces must be level.
Therefore, most people place a bumper plate on either side of the ab mat (typically a 25lb plate does the trick) so the two surfaces are equal. This is great besides the fact that you have to figure out where to positions the ab mat and the plates relative to the wall.
I recommend pulling the plates so they are a few inches away from touching the wall and the ab mat is positioned between them. This accommodates the tripod shape at the bottom of the rep that I will speak of later.
Also, many bumper plates aren’t flat on the sides (they have lips and textured letters) which frankly can be annoying and throw off your form. Ideally, get some metal or competition plates, which are completely flat on the sides so your hands have an even surface to press upon.
I recommend this option for people who don’t have a good gymnastics mat available to them and don’t want to buy one.
Lastly, work to be consistent with the orientation and width of your hand placement. I like to put my index fingers into the holes of the plates and point my thumbs at the wall (hands turned out ~45 degrees). Find your personal preference and then be consistent each time you kick up.
(2) The “Kick-Up”
Be ultra-consistent with your kick up into the handstand. Drill the details.
Foot placement, distance to hands touching, how quickly the feet come together, etc.
The more consistent you can be the quicker you will learn the skill of being upside down and balanced. Stagger your feet and throw your legs over and up to the wall behind you.
This can be intimidating for some people. There are three sub-focal points that I recommend for kick-up success.
(2.1) Two-Step Start
A big piece of building consistency in the kick-up is with your footwork. The most common mistake people make who fail to kick up is trying to kick up from all fours…both feet and both hands in contact with the ground.
At no point in the kick up should there be four limbs in contact with the ground (although it may be helpful to a scared beginner). Start two steps back from the wall.
As you plant your foot on your second step, your opposite leg swings up to generate momentum. This momentum needs to be enough to eventually pull your other foot off the floor and to the wall. As soon as you plant your hands, your second foot should pop off the ground.
(2.2) Lock-Out Elbows
It is almost impossible to injure yourself badly as long as you always keep your elbows locked.
Kicking up with bent elbows is like squatting with caved knees…it’s not only setting yourself up for a failed rep, it’s also setting yourself up for injury.
(2.3) Fix Your Gaze
Many athletes kick up an don’t allow their gaze to shift as their body changes orientation.
The goal is to create a stable overhead position, similar to a split jerk.
I encourage my athletes to look between their hands at the floor as they first kick up, but once they are on the wall and inverted, they need to shift their gaze to something in the middle of the room.
This shift in your gaze encourages a “head through the hole” position and stacks your joints better.
It also encourages the crown of your head to contact the ground rather than your hairline, which is a much safer position.
If an athlete looks between his hands, his neck is tilted up in a compromised position.
Listen: The King | Movement Density [The Fitness Movement podcast #001]
(3) Butt & Gut
Once your feet come together and you have gotten inverted make sure you stay tight and reach long. This encourages “active shoulders” and a stable core. Often people ‘lose their midline’ when upside down. If you experience any degree of low back pain when doing Handstand Push-ups this will be key to your success.
Often this is because the focus is pulled from thinking about quality movement to thinking about moving faster or getting more reps done each time your kick up on the wall. Don’t place yourself in fatigued settings until you can maintain your midline even when fatigued.
Something to focus on is squeezing your Butt & Gut…or if you prefer…Abs & Ass. Right away the structures above and below the low backfire and protect your spine. It will also improve your movement capacity when done correctly.
(4) Hand Orientation
Hand position matters so much for the handstand push-up.
I would argue it matters more for the Push-Up than for the Handstand Walk.
Think about how much you “toe-out” in a squat. Likely you have some play with the exact position, but you have a range that makes you feel comfortable, stable, mobile and most importantly…strong. The same is true for your hands in the Handstand Push-Up.
The ideal hand position is with the pit of the thumb pointed toward the wall, 45 degrees relative to the wrist or 10 O’Clock and 2 O’Clock.
The Handstand Push-up uses a 45-degree orientation because it allows the elbows to be pointed back, giving the athlete accessibility to the triceps and increasing overhead pressing strength.
Both hands pointed forward or straight to the sides tends to lose the ability to press using both the shoulders and triceps. The same can be said for a standard push-up.

(5) The Kip
Up to this point, you have all you need to be able to do strict handstand push-ups…if, of course, you are strong enough. For many people, the kip of the handstand push-up is anything but intuitive.
The basic idea of any kip is to gain momentum when in a stable position to transfer your weight more easily through a less stable position.
In the case of the HSPU, it is about gaining that momentum by throwing your legs straight up, allowing the press and lock-out to be much easier, less taxing and sustainable.
(5.1) “Upside Down Thruster?”
The easiest way to explain this to a CrossFit athlete is, “Think about doing an upside down thruster.” Basically, you compress legs and arms and then extend legs and arms.
Initially, this cue or mental image can be helpful to the beginner learning the movement. The idea is there is a correct sequence to the thruster as well as the HSPU. “Remember, you always initiate hip extension before pressing with the arms.”
A common mistake is pressing before the legs have generated the momentum, which means you are making the movement harder rather than easier.
However, it is important to note that as athletes begin to move very quickly the thruster analogy loses its truth because the arms and legs will begin to compress and extend in what at a glance appears to be unison.
In reality, there are slight differences in timing that allow for this kip to be efficient but these differences are largely based on feel, which is difficult to explain in language. Basically, the hips will initiate the kip just a fraction of a second before the arms press. It looks simultaneous but it is not.
(5.2) Low Back Contact
During the bottom of the kipping HSPU the lower back should come in contact with the wall. This requires the athlete to be close enough where this is an option. This contact provides support and balance so the athlete can be more aggressive with the change of direction with the legs. The more aggressive the kip, the easier the press.
(6) Cycling Reps Faster
When you first learn to kip HSPUs it goes like this: (1) you lower your body slowly to the mat, (2) you curl in your legs, (3) you throw them up and (4) you lockout the press. That’s a four step process.
Advanced athletes really only think about two steps or positions. It becomes arms and legs extended at the top (and) arms and legs coiled like a spring at the bottom. The quicker they can move back and forth between those two positions the faster reps will tick by.
How do you learn to develop that skill?
Really it comes down to allow the arms to bend at the same time as the legs are coiling up. You just need to make sure your timing is right so you don’t slam your head into the mat. If you can learn to lower using your arms and you coil your legs, you will dramatically reduce your cycle time.
(7) Meeting the Standards
In many competitions, the standard is simply locking out the arms.
Other times, like the 2021 Quarterfinals Event 1, it’s keeping your hands in a box. In this instance it was 40×24″ with no part of the hand or fingers being allowed to touch the lines.
However in some events, like Open 20.3, you are required to draw a line on a wall or place tape based on limb length or height.
Basically, it can be extremely difficult (and occasionally nearly impossible) to meet the movement standard. Here are three things that can help you maximize your ability to meet a line HSPU standard.
1) Get Closer to the Wall
The wall, your body and the distance between your hands and the wall make up three sides of a right triangle.
You can’t do anything about the length of the wall to the tape unless you cheat. Don’t do that.
The third side, the length of your body, I will address in next section.
Shortening the last side of that triangle involves moving your hands closer to the wall. Know that this requires more balance and can take some time getting used to, but can make meeting a standard much easier.

2) Fix your Sagging Midline
Remember when you were a little kid and the school nurse measured your height? Think about how you went from slouching with poor posture to standing as tall as possible.
Truthfully, it probably made the difference of 2 or 3 inches. This is exactly what people do all the time when they are upside down. You sag through your hips, lower back and shoulders because your butt and gut aren’t tight.
Squeeze your core and actively push your shoulders open and upward.

3) Bring Your Hands Closer
Next, consider the distance between your two hands. Every inch your hands are outside your shoulders lessens the vertical distance of your press. It is one of the reasons why you grip the bar wide in the snatch…you don’t have to lift it as high.
Check out the distance the bar is from the athlete’s head in the image below for the snatch grip versus jerk grip. For this reason athletes often complete handstand push-ups as wide as possible in practice, but then in competition they struggle to go through reps when they are forced to bring their hands under their shoulders to meet a standard. If you are looking to maximize your pressing distance/height to meet the standard, bring your hands directly under your shoulders.
The opposite is true if you are trying to minimize your range of motion because the standard is only a locked out elbow. In this case, you will want your hands as wide as allowed.
My suggestion is develop your capacities with a range of hand widths allowing you to maximize your efficiency regardless of a standard while being ready if a challenging standard is required.

4) Dorsiflex Your Ankles
In other words, pull your toes back towards your knees. This action moves your heels further up the wall.
While gymnastic coaches and athletes are always pointing their toes, it is a bad habit when doing HSPU because you want to make the hardest standard without having to consciously think about it.
Practice flexing your ankles or even an interesting idea…point your heels.

Movement Mistakes
(1) Resting in a Headstand
There are two acceptable positions to rest during handstand push-ups: locked-out overhead (or) off the wall. It is not efficient to rest in a headstand. This is similar to push jerks where you want to rest with the bar locked out overhead, not in the front rack.
Think about the pad being a bed of hot coals, where you want to spend as little time as possible in contact with it. This means that the leg action (kip) of the HSPU must be very fast. Focus on bending your arms as you also bend your legs on the way down. This is where the upside down thruster analogy falls short.
The video from CFHQ shows a safe but very slow and inefficient way to do a kipping HSPU. Each rep is lowered slowly back to the mat, then the legs come in, then the kip is generated. The time under tension for each rep is high.
Here is a much quicker, more effective way to move through reps of kipping Handstand Push-Ups.
(2) Elbows Pointed Out
This is most common for people who don’t know what is the ideal hand orientation for HSPU. Again, thumbs should face the wall, which allows the elbows to point back. This is not only a stronger position, but it is also more stable so the athlete can balance better.
Matt Chan talks about this error at 2:25 in the following video:
(3) Kicking Away from the Wall
This is typically caused by the hips rolling at the bottom of the kipping HSPU. When the kips roll, the feet move further away from the wall and the trajectory of the kip send the athlete slightly away from the wall.
The way to fix this is by pulling your heels in toward your butt and making sure your hips don’t rotate or roll at all in the bottom of the rep. It also can be helpful to think about shooting your heels not just up but back and up to counter the outward motion.
(4) Early Foot-to-Wall Contact
This is a similar error to kicking away from the wall, except it is exactly the opposite. Instead of the trajectory of the feet carrying the athlete away from the wall, it is carried toward the wall. You are making this error if your feet hit the wall before you lock out your elbows.
Feet should contact the wall at the same time as the elbows locking out. If the feet hit early, it creates friction and makes the lockout of the rep much more challenging.
Here is a video showing Errors (3) and (4).
(5) No Low Back Contact
Many athletes never allow their lower back to come in contact with the wall at the bottom of the rep. This requires greater balance and consistency rep to rep, which can be hard to come by when you are fatigued.
Allowing the back to rest on the wall adds a fourth point to the tripod (hands and head) that allows for balance and efficiency. Sometimes athletes struggle to touch their low back to the wall if their hands are setup too far away from the wall.
Top Accessory Exercises
What are the best accessory exercises to build strength for Handstand Push-ups?”

Click on an exercise to see a demo video.
Specific Strength (Vertical Pressing)
• Strict Handstand Push-Ups
• Deficit Handstand Push-Ups
• Strict Barbell Press
• Seated Double Dumbbell Press
• Half-Kneeling BU Kettlebell Press
General Pressing Movements
• Incline Bench Press (or) Incline Dumbbell Press
• Jerk Grip Bench Press (or) Dumbbell Bench Press
• Parallel Bar Dips (or) Ring Dips
• Deficit Push-Ups (or) Plyo Push-Ups (or) Ring Push-Ups
Shoulder Strength (Abduction & Flexion)
• Front, Side & Rear Dumbbell Raises
Tricep Strength (Elbow Extension)
• Barbell Push Press
• Dumbbell Push Press
• Kettlebell Clean & Jerk
• Dumbbell Thrusters
• Dumbbell Skull Crushers
• Banded Tricep Extensions
Lockout (maintaining stacked, static pressing)
• L-Sit Plate Overhead Hold
• Wall-Facing Handstand Hold
• Push Jerks
• Overhead Yoke Carry (also a great midline exercise)
• Overhead Carries, Dumbbells or Kettlebells (also a great midline exercise)
• Handstand Walks (also a great midline exercise)
Midline (Prevention of sagging or overarching)
• Plank Variations
• FLR Hold
• Inchworm Planks
• Hollow & Arch Hold + Rocks
• L-Sit Raises (or) L-Sit Holds
• Hanging Leg Raises (or) Strict Toes-to-Bar
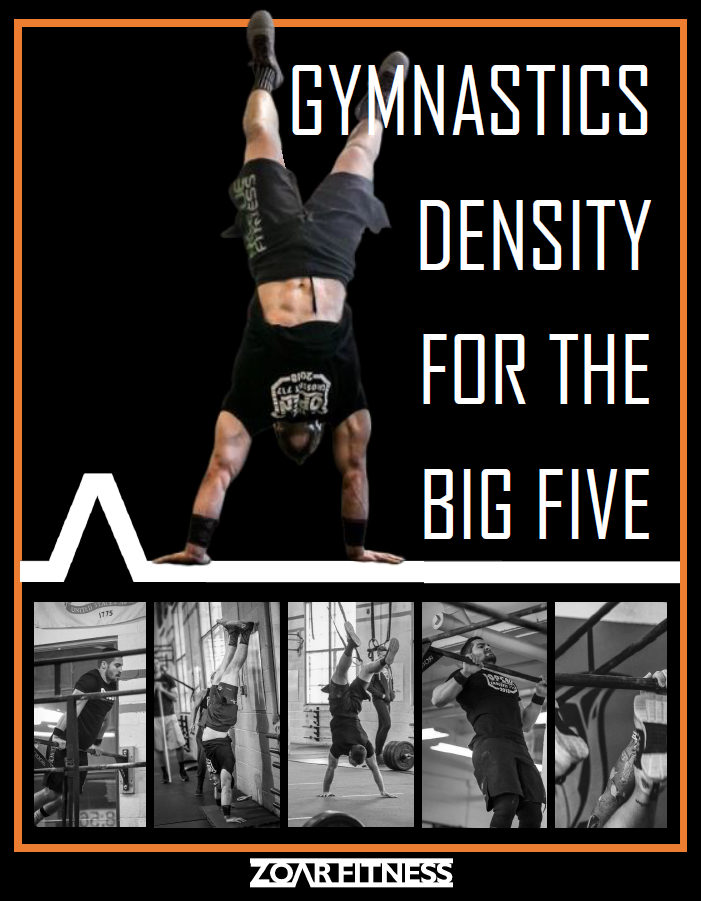
Gymnastics Density for the Big Five (12-Week Program)
Are your gymnastics movements holding you back from reaching your potential?

Statistics show five movements are far and away the most likely to show up in local competitions and online qualifiers like the Open. That’s why this program focuses on improving “The Big Five.”
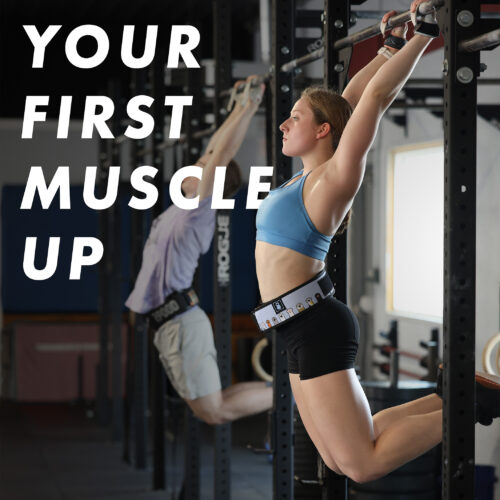
1) Muscle-Ups (Bar & Ring)
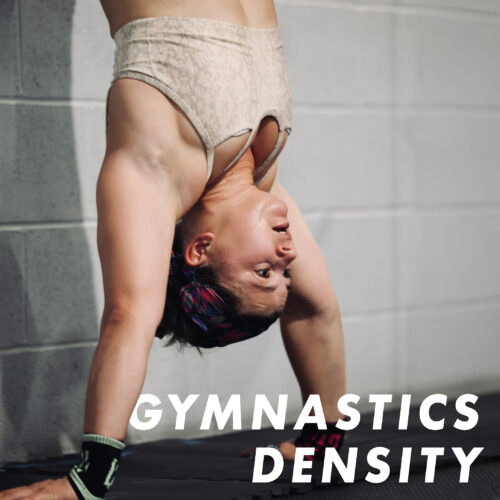
2) Handstand Push-Ups
3) Handstand Walks
4) Toes-to-Bar
5) Chest-to-Bar
If your capacity in these movements is holding you back from taking your fitness to the next level, this program is for you!


